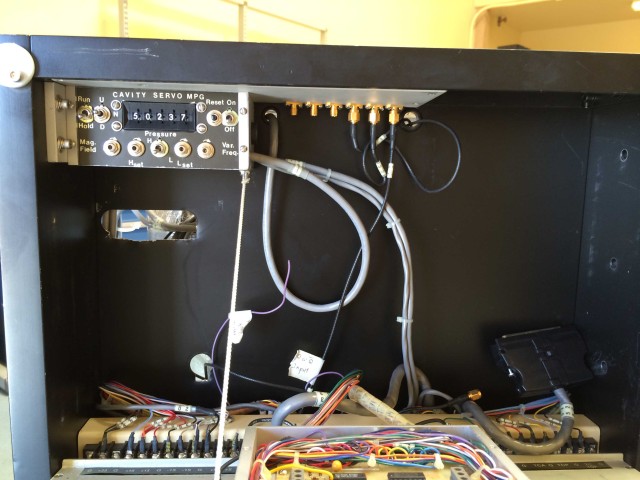
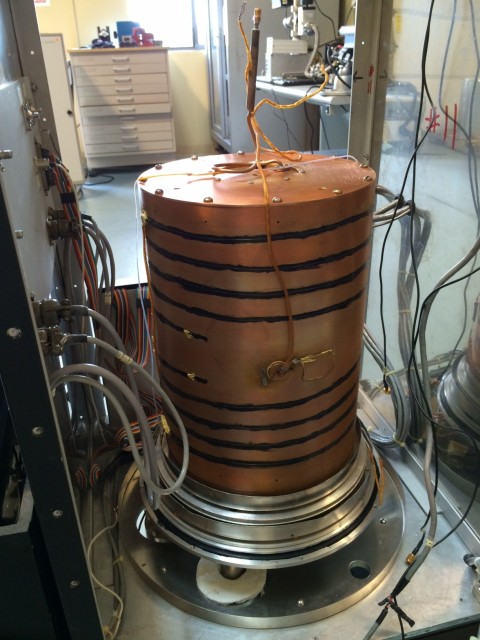
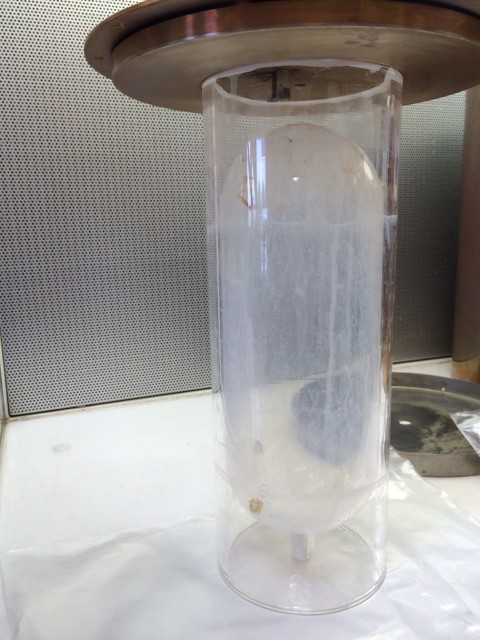
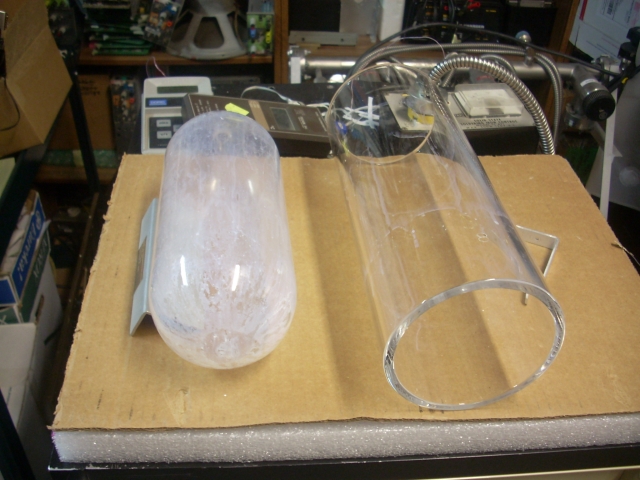
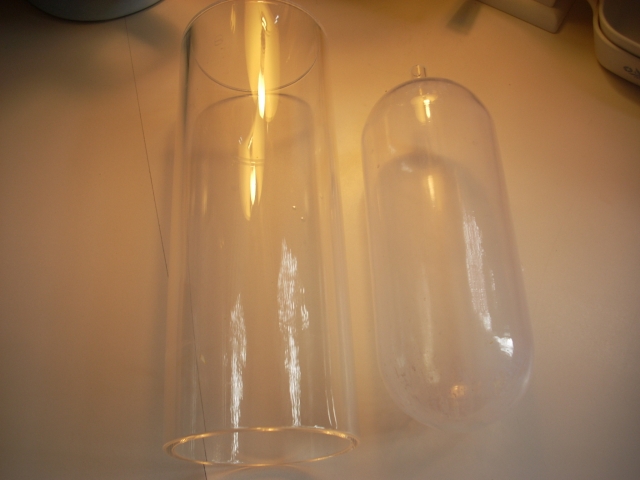
From: Corby Dawson
To: Time-Nuts
Sent: Sunday, September 14, 2014 10:16 AM
Subject: Hydrogen Maser KIT!

My Hydrogen Maser "kit" arrived recently.

It's a surplus Sigma Tau VLBA-112 with an unknown physics package problem
that has had its power supply modules, RF receiver modules, synthesizer
and cavity servo tuning modules, and a couple other "bits" removed for
spares.

Also it has been opened up to the level that the storage bulb could be
removed. (Magnetic shields, insulation, and bell jar removed)

The two main problems (so far, fingers crossed) are that the palladium
silver purifier/leak valve is missing (along with the Hydrogen supply
bottle), and that the storage bulb coating looks to be shot.

I've been tracing the power supply wiring and design, and should be able
to replace the missing stuff easily.

Minor problems are fabricating connectors for the ion pumps, replacing
one missing oven control module, and finding a Perkin Elmer pump
controller (150ma) for a reasonable price.

Once the bulb and purifier problems are cured the  major efforts will be:

-to reassemble the cavity, shields, and bell jar.
-bakeout and pumpdown the ion pumps (in isolation)
-bakeout and pumpdown the system.
-stabilize the ovens and initiate the Hydrogen discharge.

Then if oscillation can be achieved the RF system can be built.

Replacing the Automatic cavity tuning will come last as it's not needed
for basic operation.

I plan to add a relay on the input of the EFOS2 Maser that lives here.
This will allow the EFOS RF systems to be utilized for testing before
having to build up the new receiver.

This will be a LONG term effort and I will share the progress as I go
along.

Some info:  Copper cavity loaded with Quartz dielectric cylinder and
Quartz bulb.
                Cavity Q (loaded) 36000
                Line Q approx 1.6X10+9
                Drift < 5 parts in 10-15 per day (Auto tuner on)
                Temperature sensitivity < 1 X 10-14 per degree C
        `        Weight 525 pounds (including backup battery)

Tom has kindly posted some PIX at: http://leapsecond.com/corby/maser/

You might want to look at the old posts about homemade Hydrogen Masers
starting back in Aug 29 2010.

Cheers,

Corby
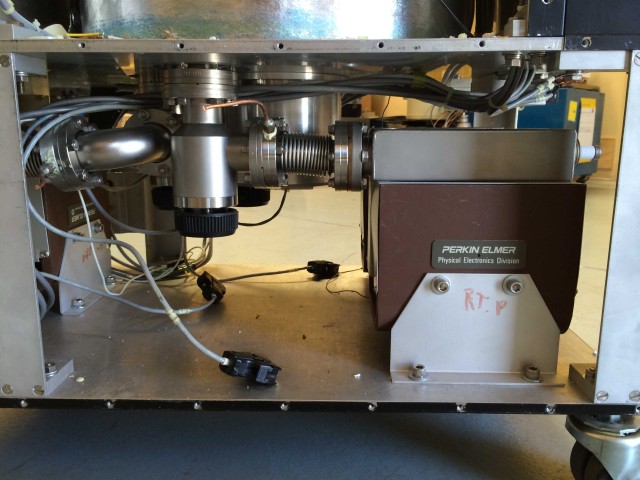


The ion pumps have been removed for testing. PIX show the pumps, the controllers, the Vacsorb vacuum roughing pumps, and LN2 dewar.
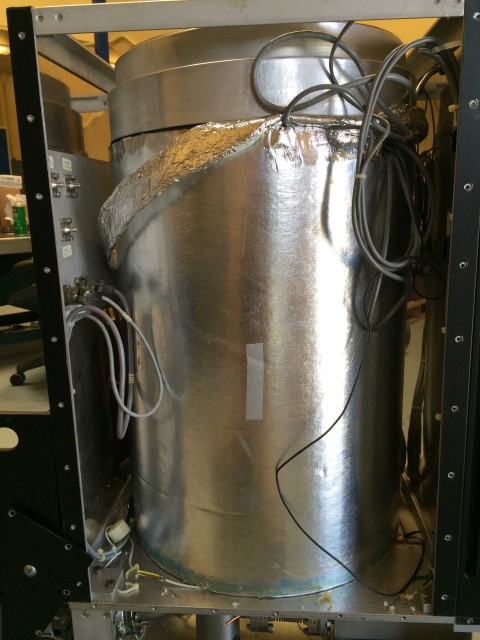
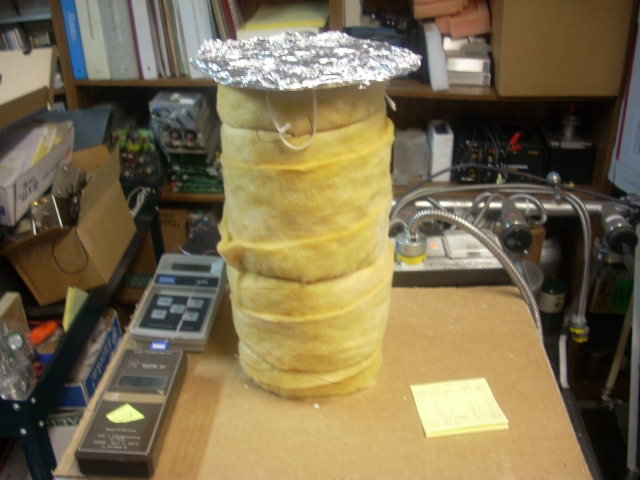
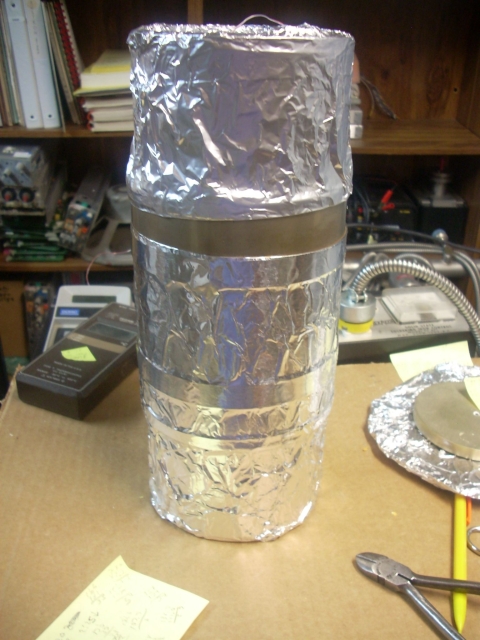
The curing oven is under construction. It consists of a heavy wall Aluminum chamber to distribute the heat evenly and three 1200 Watt heater bands. Curing requires 400 degrees C for 30 minutes.
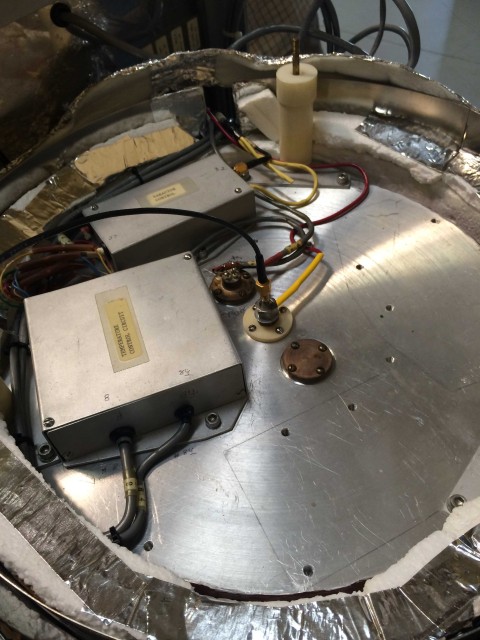
PIX shows the inner oven chamber with heater bands, one of the 3 temperature adjusters and one of the 3 AC oven voltage meters. Cheers! Corby